


HPL SERVICES
INSTRUCTIONS FOR PANEL FIXING
Expansion Clearance
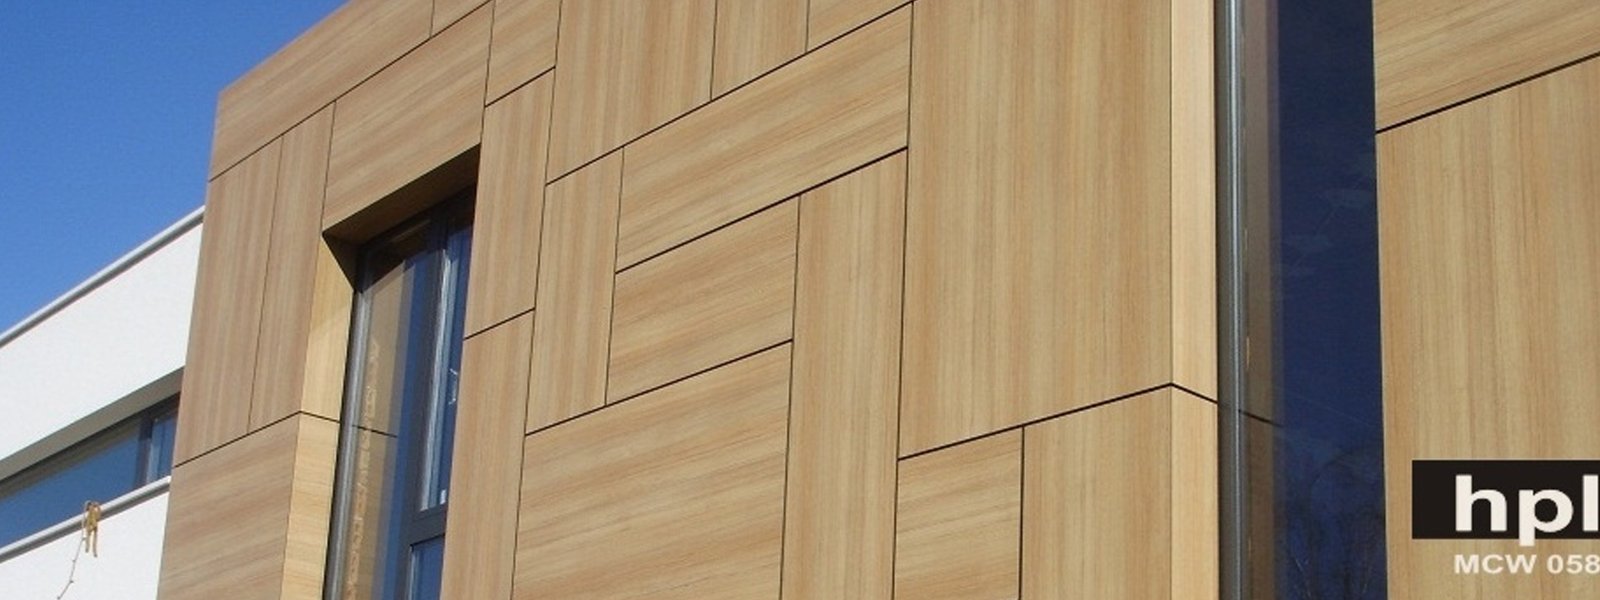
The most important characteristics of LEMINEX Exterior Cladding panels are that they marginally change their size in relation with the changes in relative humidity. They normally expand when they absorb moisture. You must provide proper clearance between the panels during fixing process to compensate for this expansion and contraction, commonly referred as the dimensional change. You may consider this clearance as per below basic thumb rule.
Pane length = a, mm Panel width = b, mm Expansion clearance = a or b/500
Mounting of panels with screws on aluminum substructure
SUBSTRUCTURE
The dimensions and size of aluminum substructure can be considered in accordance with the relevant national standards.The aluminum substructure generally consists of vertical support profiles/hollow sections which are mounted on the wall using angle brackets and rivets. Metal sub-constructions normally change their dimensions with differences in temperature. The consideration of change in dimensions of LEMINEX Exterior Cladding panels in relation with changing relative humidity is done by the concept of Expansion clearance explained above. These changes in size of sub-construction and the cladding material can also be opposite to each other. Hence while installing the panels due attention must be paid to the required expansion clearance.
Due to the material properties of LEMINEX Exterior Cladding panels, fixed points and sliding points need to be mode to fix the panels.
FIXED POINTS
Fixed points are used for uniform distribution (halving) of expansion and the shrinkage movements. The diameter of the drill hole in LEMINEX Exterior Cladding panels has to be made from 5.0 to 6.0 mm.
SLIDING POINT
The diameter of drill hole in LEMINEX Exterior Cladding panels must be 8 mm, drilled larger than the diameter of the fastening, depending on the required expansion clearance. This can be maintained as the shaft diameter of the fastening plus 2 mm for every fixed point. The head of the fastening must be big enough so that the drill hole in Cladding panels is always covered.
The table below is depicting maximum spacing of fastening for single and double span panels.
| PANEL THICKNESS | MAXIMUM SPACING OF FASTENING FOR SINGLE SPAN PANEL | MAXIMUM SPACING OF FASTENING FOR DOUBLE SPAN PANEL |
| 4 MM 6 MM 8 MM |
300 MM 400 MM 500 MM |
500 MM 600 MM 700 MM |
DIAGRAM OF FIXED AND SLIDING POINTS
Fastening Spacing
The rivets must be put in place with a flexible mouthpiece having clearance of 0.3 mm. The fastening is placed in such a way that the panel can move slightly. Rivets are put I place with flexible mouth-pieces. The defined clearance of the rivet head to the surface of the panel (0.3 mm) allows movement of the element in the drill hole as show in figure. The centre point of the drill hole in the sub-construction must coincide with the centre point of the drill hole in the Cladding panels. Drill with centering piece. Screws must not be over-tightened.
The fastening should be put in place starting from the middle of panel to outwards.
Edge Spacings
To ensure the flatness and stability of the cladding panel, ensure that the edge spacing is maintained properly. The joints must be made at least 8 mm wide so that changes in size can take place without any obstruction.
EXTERIOR CLADDING FIXING METHOD
The Lap Sliding Fixing Method has the advantage of being a very attractive system of panel fixing. With pre-fabricated LEMINEX Exterior Cladding panels for the lap sidings, it is easy to design robust and modern facades. Besides the regular advantages of LEMINEX Exterior Cladding panels, these panels are easy.
Mounting Instructions
1. Preparing The substructure
LEMINEX Exterior lap siding panels are installed using mounting clips fixed to a sub-structure of vertical wooden slats. Each slat must be at least 50 mm wide for a single mounting clip, or 75 mm wide where two panels joint to allow enough space for two mounting clips side-by-side. The gap between each slat should not exceed 500 mm as applicable to low buildings of up to 8 m height.
The panels are installed starting from the bottom. First of all, fit a horizontal base bar. Now fit the first row of mounting clips so they rest on the bar. Make sure you fit 2 mounting clips at each vertical joint between panels.
2.Installing the first row of panels
Place the groove along the lower edge of the LEMINEX Exterior lap siding panels onto the mounting clips. Secure the panels in place by fixing mounting clips along the top edge of each panel. The panel above overlaps the first row of panels by approximately 25 mm. Fit a screw next to the top middle mounting clip on each panel. This is designed to stop the sideways shifting of panels.
3. Vertical joints
A slat for fixing the mounting clips must be located at each vertical joint. Two mounting clips, one either side of the joint, are needed to provide the necessary hold. Please use proper backing strips to seal the vertical joint between cladding panels. If the siding elements are arranged so the vertical joints are offset then it is sufficient to install the panel plus backing strip using a single mounting clip. If the vertical joints are in a line then two mounting clips need to be used. There must be a gap of at least 8 mm between the panels at the joint.
4. Outside corners/inside corners with mitre
LEMINEX Exterior Cladding panels can be mitred for both outside and inside corners. Outside corners: The top edge of the panel must be 12 mm shorter than the lower edge of the panel (regardless of the panel width). Inside corners: The lower edge of the panel must be 12 mm shorter than the top edge of the panel (regardless of the panel width).
The mitred edges must have a chamfer. The sub-structure needs to be protected with a plastic sheet to prevent water entering. Elements can be installed on both outside and inside corners using a variety of shapes of corner profile. In this case the panels are cut to size without a mitre. Please make sure there is a gap of at least 5 mm between each panel and the corner profile.
5. Installing the top row of panels
Secure the top row of panels by fitting screws along the top edge of each panel. Use screws with painted heads to match the colour of the panels, as used for the installation of full-sized LEMINEX Exterior Cladding panels.